
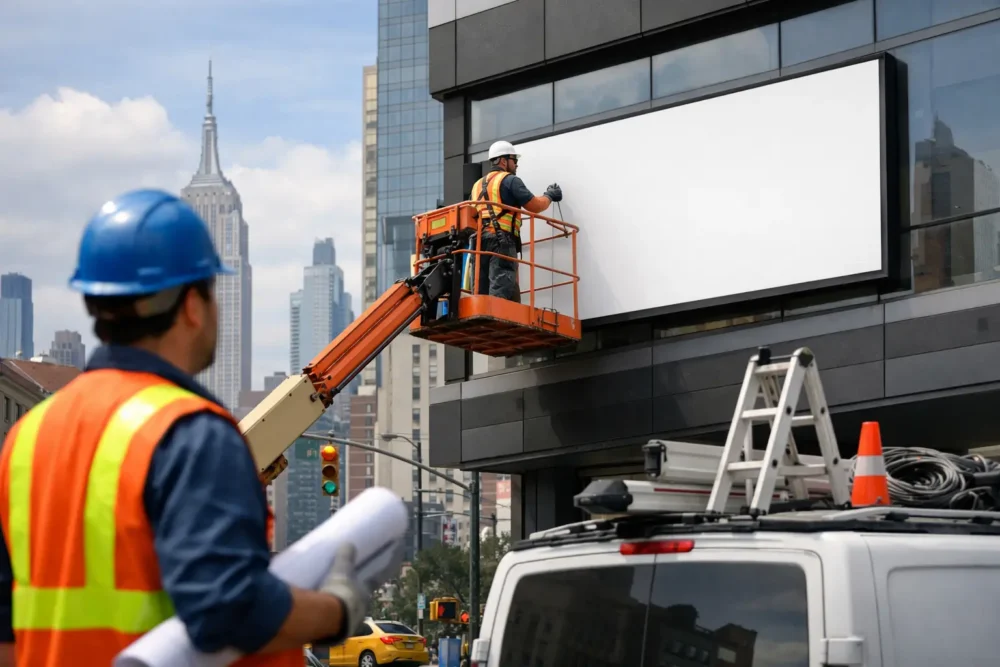
Your new sign may be the first thing customers notice before they ever open the door. But a great design and quality fabrication can still face delays if the installation site is not ready. Access issues, landlord approvals, electrical gaps, and overlooked permits can turn a straightforward install into a rescheduled project.
Knowing how to prepare for sign installation puts you in control of the schedule, protects your investment, and helps your business make the right first impression from day one. Whether you are installing channel letters above a Queens storefront, a lobby sign in Manhattan, window graphics for a Brooklyn retail space, or a monument sign on Long Island, preparation starts well before the crew arrives.
Start With a Site Survey, Not a Guess
Photos are helpful, but they do not replace a professional site survey. The installer needs to verify dimensions, mounting surfaces, wall conditions, obstructions, power availability, and the safest way to reach the installation area. A brick facade, EIFS wall, metal panel system, glass storefront, or poured concrete structure each requires a different mounting approach.
This is where assumptions get expensive. A sign that looks centered from street level may conflict with a conduit, window header, sprinkler line, awning frame, or building seam. Older New York City buildings can add another layer of uncertainty, especially when previous tenants left behind concealed wiring or patched mounting holes.
Have current measurements, storefront photos, and any available building plans ready for your sign partner. If you lease the space, ask the property manager for details about the facade, approved installation points, and building access requirements. A proper survey identifies problems before fabrication or installation day, when there is still time to solve them efficiently.
Confirm Landlord Approval and Sign Permits Early
Many business owners assume that because they occupy a storefront, they can install any sign they choose. In reality, commercial leases, shopping centers, co-op buildings, and managed properties often have strict sign criteria. These may control sign size, illumination, colors, placement, attachment methods, operating hours, and even the type of vinyl allowed on windows.
Get written approval before production begins. Send your landlord or property manager the sign rendering, dimensions, materials, mounting plan, and electrical requirements. If your location is part of a franchise or a multi-tenant property, confirm that the design also meets brand and plaza standards.
Permitting is equally important. Requirements depend on the sign type, location, size, illumination, structural conditions, and local regulations. In New York City, exterior signage may involve building, electrical, zoning, landmark, or sidewalk-related considerations. Do not wait until the sign is fabricated to ask whether a permit is required. The right process depends on the project, and rushing it can create avoidable costs or delays.
A full-service sign company can help determine what is needed, coordinate documentation, and keep the project moving. The goal is not simply to get a sign on the wall. It is to get a sign installed correctly, safely, and with fewer surprises.
Make Sure Power Is Ready for Illuminated Signs
Illuminated channel letters, light boxes, cabinet signs, digital displays, and backlit signs need a reliable electrical source. This sounds obvious, yet power is one of the most common reasons an installation cannot be completed in a single visit.
Before installation, confirm where the electrical feed will come from and whether it is live, dedicated, and accessible. The power source may need to be routed through the wall, ceiling, roof, or an interior utility space. Your installer also needs to know if building management requires its own electrician, shutoff procedures, certificates of insurance, or advance notice for electrical work.
Do not assume an old sign connection is usable just because it is already there. Existing wiring may be damaged, undersized, disconnected, noncompliant, or located in the wrong position for the new sign. A site inspection clarifies whether the current power can be reused or whether a new connection is the smarter move.
For non-illuminated signs, electrical planning may not apply, but lighting still matters. A well-designed dimensional sign can disappear after sunset if the storefront lighting is weak. Consider how the sign will perform during business hours, after dark, and in different weather conditions.
Clear the Work Area and Plan Access
Installation crews need more than a clear wall. They need a safe route for people, tools, equipment, and the finished sign. In dense areas of NYC, that can mean planning around pedestrian traffic, parked vehicles, delivery windows, neighboring businesses, and narrow sidewalks.
Talk through access before the scheduled date. Will the crew need a ladder, scaffold, bucket truck, boom lift, or roof access? Is there a loading zone, rear alley, private lot, or legal place to stage equipment? Some properties require elevator reservations, freight access, loading dock appointments, or a certificate of insurance before contractors can enter.
Inside the business, move displays, furniture, merchandise, and sensitive equipment away from the work zone. If installers need to access the interior side of an exterior wall to complete wiring or secure fasteners, make that area available. Protect products that cannot be moved, especially in restaurants, medical offices, retail stores, schools, and active workspaces.
For exterior work, plan for sidewalk management. The crew may need to create a controlled area below the work zone to protect pedestrians. Your installer will guide the setup, but you can help by notifying neighboring tenants and avoiding major deliveries or promotional events during the installation window.
Prepare the Surface and Address Existing Signage
The condition of the mounting surface affects the result. Loose brick, cracked stucco, water damage, rotted fascia boards, unstable awnings, and deteriorated panels should be addressed before a new sign is attached. Installing over a failing surface may save time at first, but it creates a safety and maintenance problem later.
If an old sign is coming down, decide in advance who is handling removal, disposal, patching, and repainting. Old channel letters can leave holes, shadows, faded paint outlines, exposed wiring, or damaged masonry. A replacement sign does not always cover every old mark, particularly when the new design is smaller or positioned differently.
Ask for a removal plan that covers disconnection, disposal, surface repair, and cleanup. If the facade needs painting or patching, schedule that work before the new sign goes up whenever possible. A polished sign deserves a polished background.
Give Your Team a Clear Installation-Day Plan
A short internal plan prevents small disruptions from becoming bigger ones. Identify one on-site decision-maker who can meet the crew, provide access, answer building questions, and approve reasonable field adjustments. That person should have the landlord contact, property manager instructions, and any access codes or keys ready.
Let your employees know when installation is happening. If drilling, electrical work, or equipment movement may affect operations, schedule around peak customer traffic when possible. Restaurants may prefer morning work before prep begins. Medical practices may need to avoid patient appointment blocks. Retailers may need a plan for keeping an entrance open while exterior work is underway.
Weather can also affect exterior installations. High winds, heavy rain, lightning, or unsafe conditions may require a schedule change, particularly when lifts or rooftop work are involved. That is not poor planning. It is the right call when crew safety and a secure installation are on the line.
Inspect the Finished Sign Before the Crew Leaves
Once the sign is installed, take a few minutes to inspect it from close range and from the customer viewpoint. Check alignment, spelling, illumination, colors, mounting appearance, and visibility from the street or parking area. For window graphics, look for bubbles, edge lifting, and correct placement. For illuminated signs, view them after dark if possible or confirm the lighting test with the installer.
Ask how to operate timers, photocells, or switches, and keep warranty and maintenance information in a place your manager can find later. If the sign needs a periodic cleaning plan or future bulb, LED, vinyl, or panel service, knowing that now helps preserve its appearance.
The best installation feels uneventful because the details were handled before the truck arrived. When you prepare the site, approvals, access, surface, and power in advance, your sign project moves faster and lands with the impact your business deserves. For businesses that want one accountable partner from design through installation, 10X Sign Company brings the planning and execution needed to put your brand in front of the right people.